Tagging music automatically
November 27, 2012 in bliss by Dan Gravell
Tags have always been central to computer based audio because they provide the textual metadata by which we organise and search our music collection. The process of tagging manually was quickly recognised as tedious and various automatic and semi-automatic approaches to auto tagging have been adopted down the years. Here's how to use bliss to auto tag your untagged music files!
Tags, metadata stored internally to a music file, describe the music files audio. Tags state the name of a song, its artist, the release it comes from and more. Tags are very important when building a computer audio collection because they provide the most flexible way of browsing and searching your library. When you see all those album names, artist names, genres and years in your music player, it's the tags that you are seeing.
There are a few ways that you might come into posession of a music file without tags. A common one is that when ripping a CD you lose your Internet connection. Many CD rippers will continue the rip but fail to lookup the information for the CD; this information is intended to be written to the tags. Another cause is if your music was originally ripped as a WAV file (common with some high end audio players). WAV files originally didn't have a reliably agreed tagging format, and so metadata for such files would often be kept in databases internal to your music player. That's bad news for when you want to transfer that music anywhere else. Fortunately WAV tagging is coming a long way.
If a music file doesn't have tags, is it useless? Well, no. It still has the audio inside. The problem is that without the tags to identify and categorise the music it becomes very difficult to find and play the music inside your music player. Typically, music players will simply label such music as "Unknown album 3" or some similarly unhelpful name.
So it becomes obvious that we should want to include tags in our music files. How have we done it, over the short history of computer based audio?
A (very) brief history of tagging, auto and manual
Personally, in my early days of computer audio (1996), I would tag music files manually. I'd go through the back of a CD, copying the track names, numbers, artist names etc into the tags as I ripped a CD. For someone used to creating their own mixtapes and copying the track titles from CD to cassette this was no big deal.
But very soon the rise of the Internet offered a much better way. CDDB was an online database of CDs with associated metadata. It worked like this: when your CD ripped started ripping a CD it would read the CD's TOC (basically the position of each track on the CD) and send this to CDDB, which looked up matching CDs and returned the CD's information for tagging. Laterly, after some rather nasty legal tussles, FreeDB arose from CDDB's ashes. Read more about that in my ebook. Nevertheless, this was an early form of auto tagging.
There are problems with TOC based matching, however. Multiple CDs can have the same TOC, which means potentially differing results for different CDs, and unless the TOC itself is tagged once ripped there's no way of regenerating a TOC from the music files alone.
Recently, we've seen the emergence of audio fingerprinting technology. Different implementations abound, but open source services such as Acoustid appear to suggest this technology is becoming commoditised and more available to everyone. Audio fingerprinting works by examining the actual audio data within a music file or CD track and producing an identifiable 'fingerprint' of the audio. This can then be looked up online and the matching metadata downloaded.
Whatever technique has emerged for auto tagging, software has been written to take advantage of it. Audio fingerprinting is no exception. I have added auto tagging, using Acoustid audio fingerprinting, to bliss to help fill in those pesky missing tags!
Using bliss to tag music automatically
When you point bliss at a root music folder, any untagged files in there will be fingerprinted automatically. Note that this does not mean they are tagged automatically. No, bliss simply tries to identify your untagged music files, and then presents the candidate data for you to verify and click a 'Tag' button to make the changes to your music files.
To outline the steps, here's what you do:
- Install bliss and start it up
- Point bliss at a root folder which contains your untagged music files
- Click 'Apply rules'
- Watch the 'Untagged' page for new recognised music files
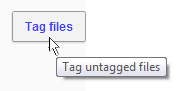
- Click 'Tag' for those albums that you want to tag
Once tagged, the album will show in the Albums view for you to apply other rules, such as album art, file path and genre consolidation rules. So let's get started!
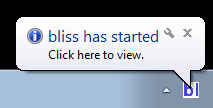
I'll assume you're starting bliss for the first time. First, we start bliss. bliss runs in the background, and will load an icon into the system tray (Windows) or the Menu (OS X).
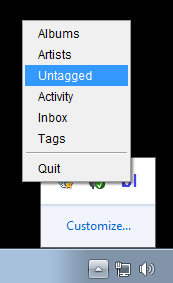
Click the icon and you get a menu of options to access the bliss user interface.
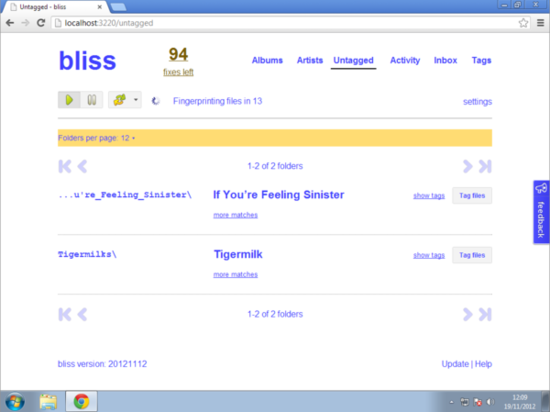
Click Untagged. The bliss Untagged page loads:
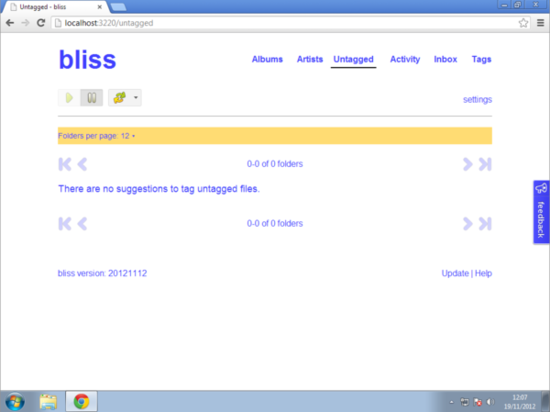
Pretty unexciting so far! This is because you haven't configured a root music folder yet. Click settings and in the Music location field enter the path to your root music folder, or browse for it. If you're accessing your files over a network (maybe your music is on a NAS) you can use the UNC path or map/mount the folder.
Once you've set your music folder, click Apply rules. At this point, bliss starts scanning your folder for music files.
At this point, any albums that are already tagged will populate the Albums page. However, because we haven't configured any rules, nothing more will be done.
Back to the untagged albums, and more pertinently to this post, you'll begin to see messages indicating that your untagged music files are being fingerprinted. Once the files have been fingerprinted, bliss will look for the music's data online. Any matches it finds will be shown on the Untagged page:
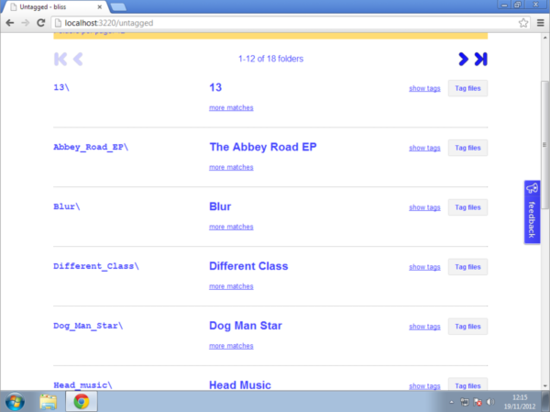
Each folder of music files gets a line in the untagged page. The folder name is shown on the left, the candidate album name in the middle. Assuming this looks correct, click the Show tags link to show all of the tags that will be applied into each file. You'll notice the track name and number are also tagged.
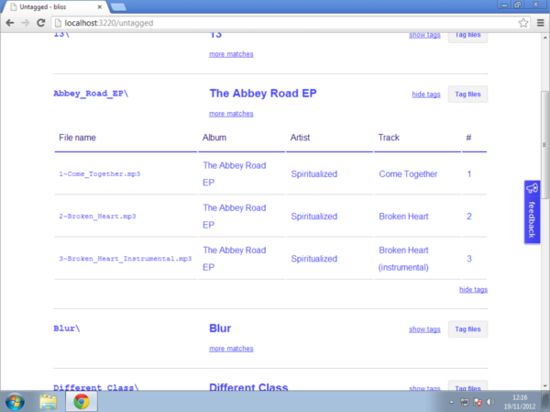
You can click on a tag value to change the tag, but once you are happy, click the 'Tag Files' button, and bliss will add the tags to the music files.
What about cover art, genre, year and all that other good stuff? Well, bliss is designed such that the Untagged page provides the minimum required data, and the other rules, such as the cover art rule can work after you have tagged your files with this minimum data.
So that's how to use bliss to auto tag your music. Going this route is, I'm sure you'll agree, a lot faster than inputting all the tags yourself!
Thanks to jurvetson for the image above.


