How to install bliss in unRAID to manage your music library
March 18, 2021 in digital music by Dan Gravell
 unRAID makes an ideal storage location for your music library. Using unRAID you can store your library, back it up and install different music apps to stream music around your home.
But if you have a large music library, it also needs managing and organizing! And that’s where bliss comes in. Ahead of a planned official unRAID application, I’ve put together some notes on how to install bliss in unRAID.
unRAID is an operating system principally designed to manage storage. Think of it as an operating system for a NAS. Instead of purchasing a consumer NAS device like a Synology or QNAP device, you can download unRAID and run it on hardware you already have.
But it goes further than that. Not only can you manage your data (and that includes music libraries); you can install apps to provide services for that data. For example, you can install a music server like Plex, a UPnP server like Twonky or the venerable old favourite Logitech Media Server for streaming music to Squeezeboxes and the rest.
What about managing your music library? It turns out it’s pretty simple to install bliss in unRAID. bliss is a natural partner for unRAID because it’s written as a server side app.
unRAID apps are installed with the Community Applications plugin. Underlying this is Docker. Docker is a way of running applications isolated from other applications and even the underlying operating system. The Community Applications plugin uses unRAID’s Docker capabilities to download, install and run applications.
Fortunately there are already Docker containers for bliss! This means installing bliss is fairly straightforward on unRAID.
Pre-requisites
There are a few things that you need in place before you install bliss. Some of these you might have already. I’ve put these first because they are general tasks that might also be required for other music management tasks.
Install the Community Applications plugin
The Community Applications plugin is the source for all 3rd party applications. It’s one of the first plugins new unRAID users install, but just in case you haven’t, here’s how.
- In the unRAID Web GUI, click Plugins > Install Plugin.
- In the field Enter URL of remove plugin file or local plugin file paste this URL:
https://forums.unraid.net/topic/38582-plug-in-community-applications/. - Click Install.
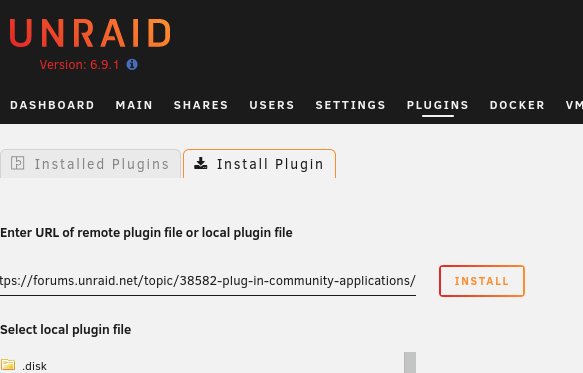
When it’s installed, you’ll get a new Apps heading in the menu bar.
You need music!
bliss needs music files to work on. You need to have copied your music library onto your unRAID box.
Here’s how to add music to your unRAID machine, if you haven’t already done this:
- Click the Shares entry in the unRAID menu.
- Click Add Share.
- The Share name should be something sensible like music.
- Click Done
SMB Security Settings should now show. The default is to share this folder over Samba, so computers can connect to it easily. The default settings are probably fine.
You should now be able to copy your music onto the unRAID server into the music share.
Installing bliss
Now for the bliss-specific bit.
First, we need to create a folder for bliss’s configuration files. One way of doing this in the unRAID Web GUI is:
-
Click the Terminal icon at the top-right.

- Type
cd /mnt/user/appdata/then press Enter. - Type
mkdir blissthen press Enter. - Close the Terminal window.
The Terminal window will look something like:
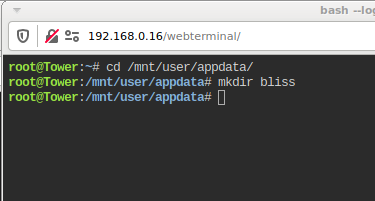
That created a folder we’ll use later.
Now click Apps to enter the Community Applications plugin. You’ll see a bunch of featured and new apps you can install in unRAID.
In the left sidebar, click Settings:
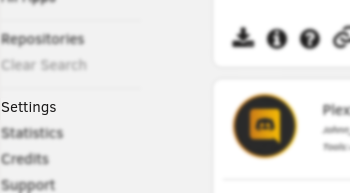
For Enable additional search results from dockerHub choose Yes. Now click Apply.
We can now search all of Docker Hub. That means we can download one of the pre-prepared Docker images for bliss.
At the top-right of the Community Applications page, enter “bliss” in the search box and press Enter:
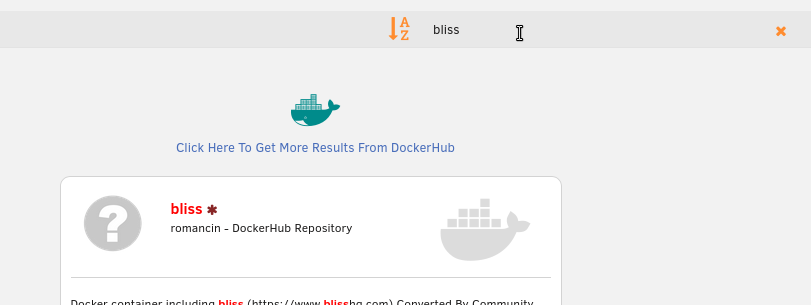
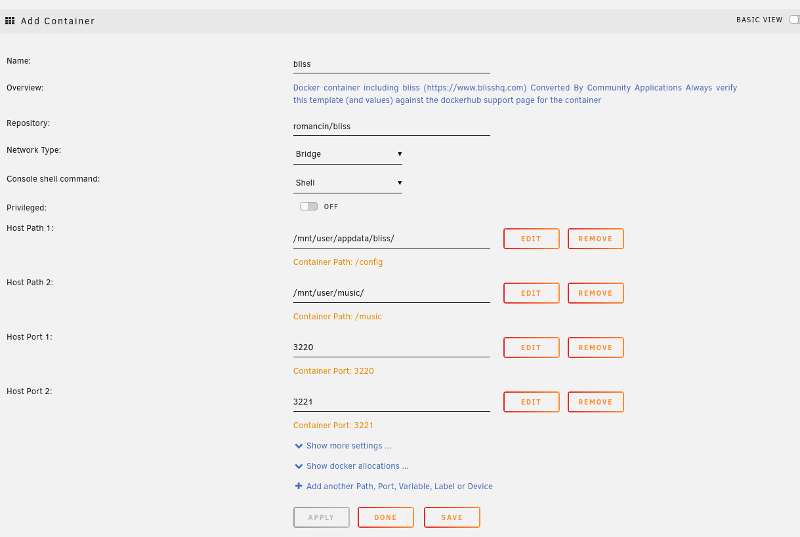
Now you can click the Install button on the bliss package. This gives a settings page. There are only four settings you need to change.
Click Add another Path, Port, Variable, Label or Device. Under Container Path enter /config and click inside Host Path and click appdata then your previously-created bliss directory. Click Add.
Click Add another Path, Port, Variable, Label or Device again. Under Container Path enter /music and click inside Host Path and click your music share, or wherever you have stored your music. Click Add.
Click Add another Path, Port, Variable, Label or Device again. Click the dropdown next to Config Type and choose Port. Under Container Port enter 3220 and for Host Port also type 3220. Click Add.
Click Add another Path, Port, Variable, Label or Device one final time. Click the dropdown next to Config Type and choose Port. Under Container Port enter 3221 and for Host Port also type 3221. Click Add.
The final setup screen should look like this (note there’s a Basic/Advanced view switch at the top-right, which will affect how this page appears):
You can now click Apply and the bliss container should now download, install and run!
Accessing bliss
To check bliss is running, click Docker. You should see something like:

Now, there is the possibility to setup the “Web GUI” so clicking the bliss icon will send you through… but I’ll leave that to an exercise for the reader.
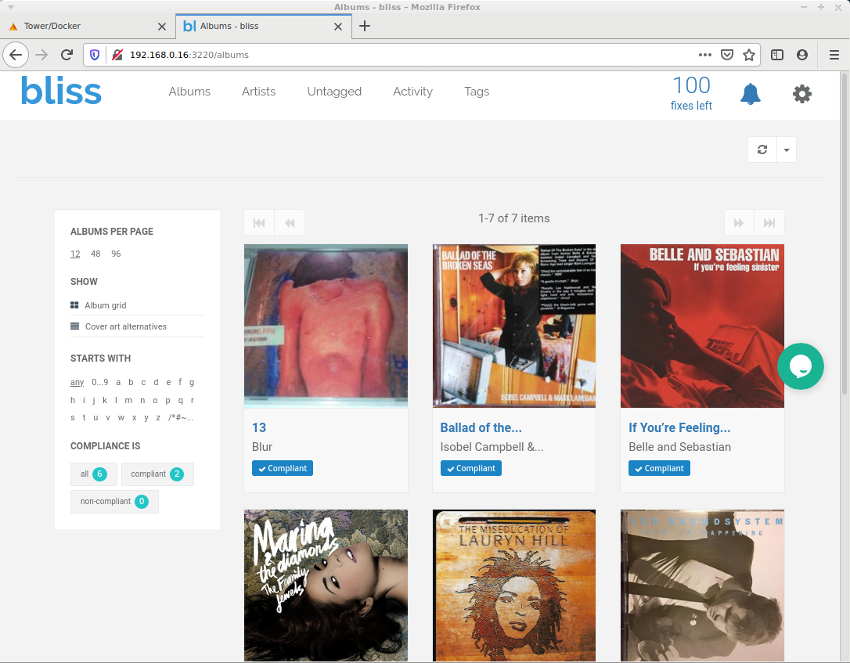
In the meantime, simply open port 3220 at the same IP as your unRAID server. If your unRAID server is running at http://tower then that’s http://tower:3220.
bliss!
I’d like to tidy this up and promote it to the official Community Applications soon. Anyone else out there using unRAID?


