Auto tagging your music files with bliss
bliss is a software tool to organise digital music libraries. It aims to make music libraries complete, correct and consistent. Under the 'complete' banner, one of its functions is to be able to recognise and suggest tags for audio files that don't contain any tags already.
This is a tutorial about using bliss to auto tag your music files. It begins assuming bliss has already been installed and is ready to start. The goals of this quick start guide are:
- Learn what tags are
- Learn a little about how bliss works
- Learn how to configure bliss so that it will perform auto tagging
Already know about tags and just want to jump to the main part of the tutorial? Then start with Running bliss's auto tagger.
What's a tag?
For the purposes of this tutorial, a tag is a piece of information stored inside a music file. Tags primarily provide information about the audio within the music file, but they can also be used for information about other connected items, such as the artist of the audio, information about the release that the recording is featured on and more.
For a piece of audio, typical tags will include the name of the work, its containing release, its position in the containing release, the artist of the work, the year of the release's original release, the audio's genre and more.
Tags are very important because they form the basis of browsing, organising and searching in your music player. When you see album and artist names in your music player, that's the tags you're seeing. So if your music file doesn't have tags, the information in your music player will be incomplete and your music will be harder to find and play!
How bliss's auto tagger works
bliss's auto tagging feature runs a little different to its other features. Alongside being an auto tagger, bliss is a server application that applies rules to a music collection. These rules, however, tend to operate on tags within music files, so they are pretty useless for untagged files! That's why bliss's auto tagger runs alongside the rules; while the rules are fixing your already-tagged albums, the auto tagger can find metadata to tag inside your music files.
Unlike the rules in bliss, the auto tagger works without being configured. As soon as it sees an untagged music file it will run it through the auto tagger. Here's what the auto tagger actually does:
- Generates an acoustic fingerprint for each untagged file in a folder
- Looks up information for all of the files in a folder, and takes the intersection information
- Presents all matching data for your perusal and choice
It's worth repeating that bliss auto-tags on a folder level basis. For all untagged files in a folder, it looks for information about a given release that all files appear on. This means it won't work for individual files stored in one folder. This is intentional; otherwise, bliss wouldn't know which release the file was in. If you think about popular songs, they aren't just in their original single release, they are also normally in an album and numerous compilations.
Technically speaking, bliss also treats certain tracks as untagged if they do have tags, but these tags are of a known value. These values are:
- Unknown Album
- Unknown Artist
(That final one was a zero length string, i.e. if there's an album tag, but there's no actual data inside, it will be treated as untagged).
Note that bliss does not auto tag your music without your agreement. bliss presents all of the information it has found and allows a one-click Tag files operation.
So that's what bliss does and how it does it... now let's run bliss's auto tagger!
Running bliss's auto tagger
Assuming bliss is already installed, start it. bliss runs in the background, so you won't see an application 'pop up' as you might be used to. On Windows, bliss loads in the system tray (that area typically at the bottom-right of the screen). On OS X, bliss loads in the Menu bar (at the top-right). You can access bliss using those icons or by going to http://localhost:3220 ![]() replacing 'localhost' if you have installed bliss on a different computer to that which you are accessing it from.
replacing 'localhost' if you have installed bliss on a different computer to that which you are accessing it from.
Click on the Untagged header to view the untagged page. If you have already configured bliss, pointing it at a root music folder, then you may already begin to see suggested release information. If not, we need to show bliss where our music files are stored. Click settings, and here's what will be displayed:
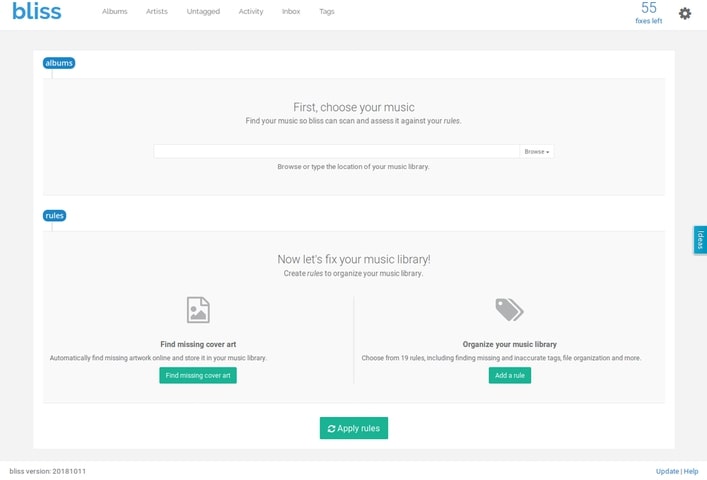
You need to specify a Music location which is the root folder containing all of your music files. It may be pre-populated, but you should check if that is correct. Either type in the root location of your music files or click the Browse button to find them. If you need to access your music files on a NAS or some other network location there are a couple of ways to specify such locations.
Once you've specified the music location, click Apply rules. You've now configured bliss, and bliss will begin identifying your untagged music!
Inspecting information and tagging files
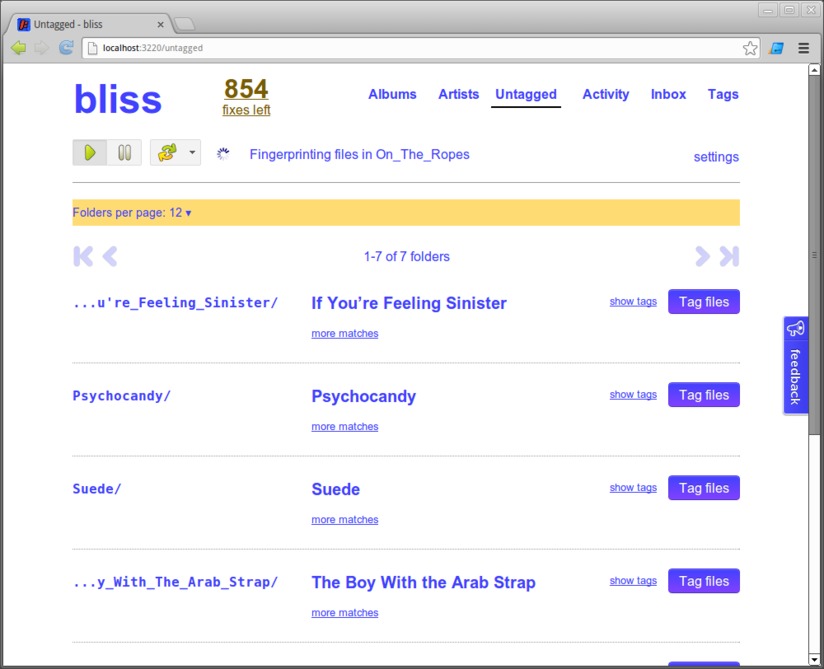
So bliss is now identifying your music and will begin to show you the information it has found:
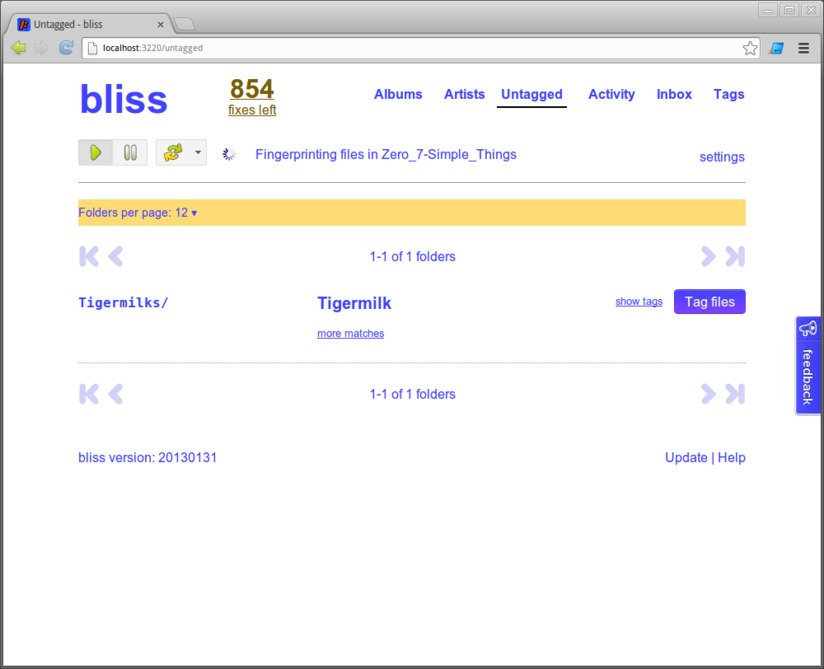
You don't have to wait for bliss to finish fingerprinting all of your files, feel free to press refresh on your Web browser to view the latest matches:
See an album you want to tag? Click Show tags to show all of the information about the album that has been found and will be tagged inside the files:

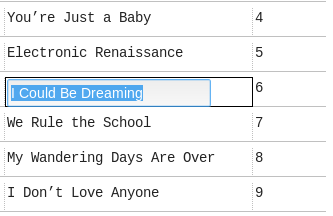
You can alter the information by clicking on it:
And finally, you can tag the files with that information by clicking the Tag files button. This applies the tags into the music files, and the album soon shows up in bliss's Albums page:
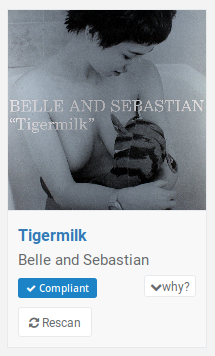
Your untagged music files are now tagged!
Viewing alternative matches
You'll notice the More matches link. Click it, and you can see all of the releases that bliss found information about. The fewer tracks you have in a folder the more likely this will be enabled, because the more releases there will be where all of these tracks appear. For example, here's an EP with just three tracks:
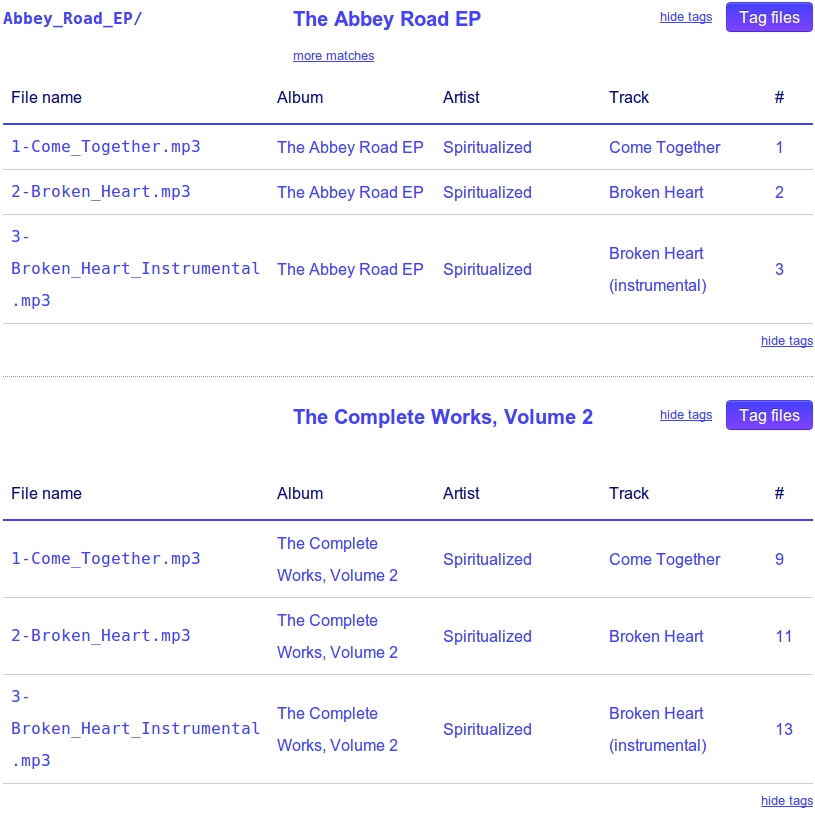
Because those three tracks appear on two releases, bliss has suggested both releases and left you to pick. You can see that the key difference are the track numbers (as well as the release name, obviously).
What's next
bliss's auto tagging just provides bare-minimum tags such as track name, number, album name and artist name. There's plenty more to do, such as find cover art, fix file and folder paths and fill in year and genre information.
This concludes the auto tagging tutorial. Hopefully you've learnt a little about music tags, how bliss works and what you'd expect to see when you use bliss. Your next step is to download bliss, install it and begin filling in those tags!
